May 20-23, 2022
This page is actually being done on October 7, 2024, so as to give no clue to a friend of ours. Martin wanted to surprise Lynda by showing her the Great Room with the fireplace gone. She was!
The reason that this is a month after demoing is that several things had to be done:
- The in-floor boxes had to be installed. The plumber had to lay down in-floor heating where the fireplace used to be. We told our contractor that not heating that little bit of floor was ok, but he’s a perfectionist and insisted!
- The special light weight concrete had to be poured over the in-floor heating tube and given sufficient curing time.
- Dave, the tile guy, had put us on his schedule and really good tile guys are busy!
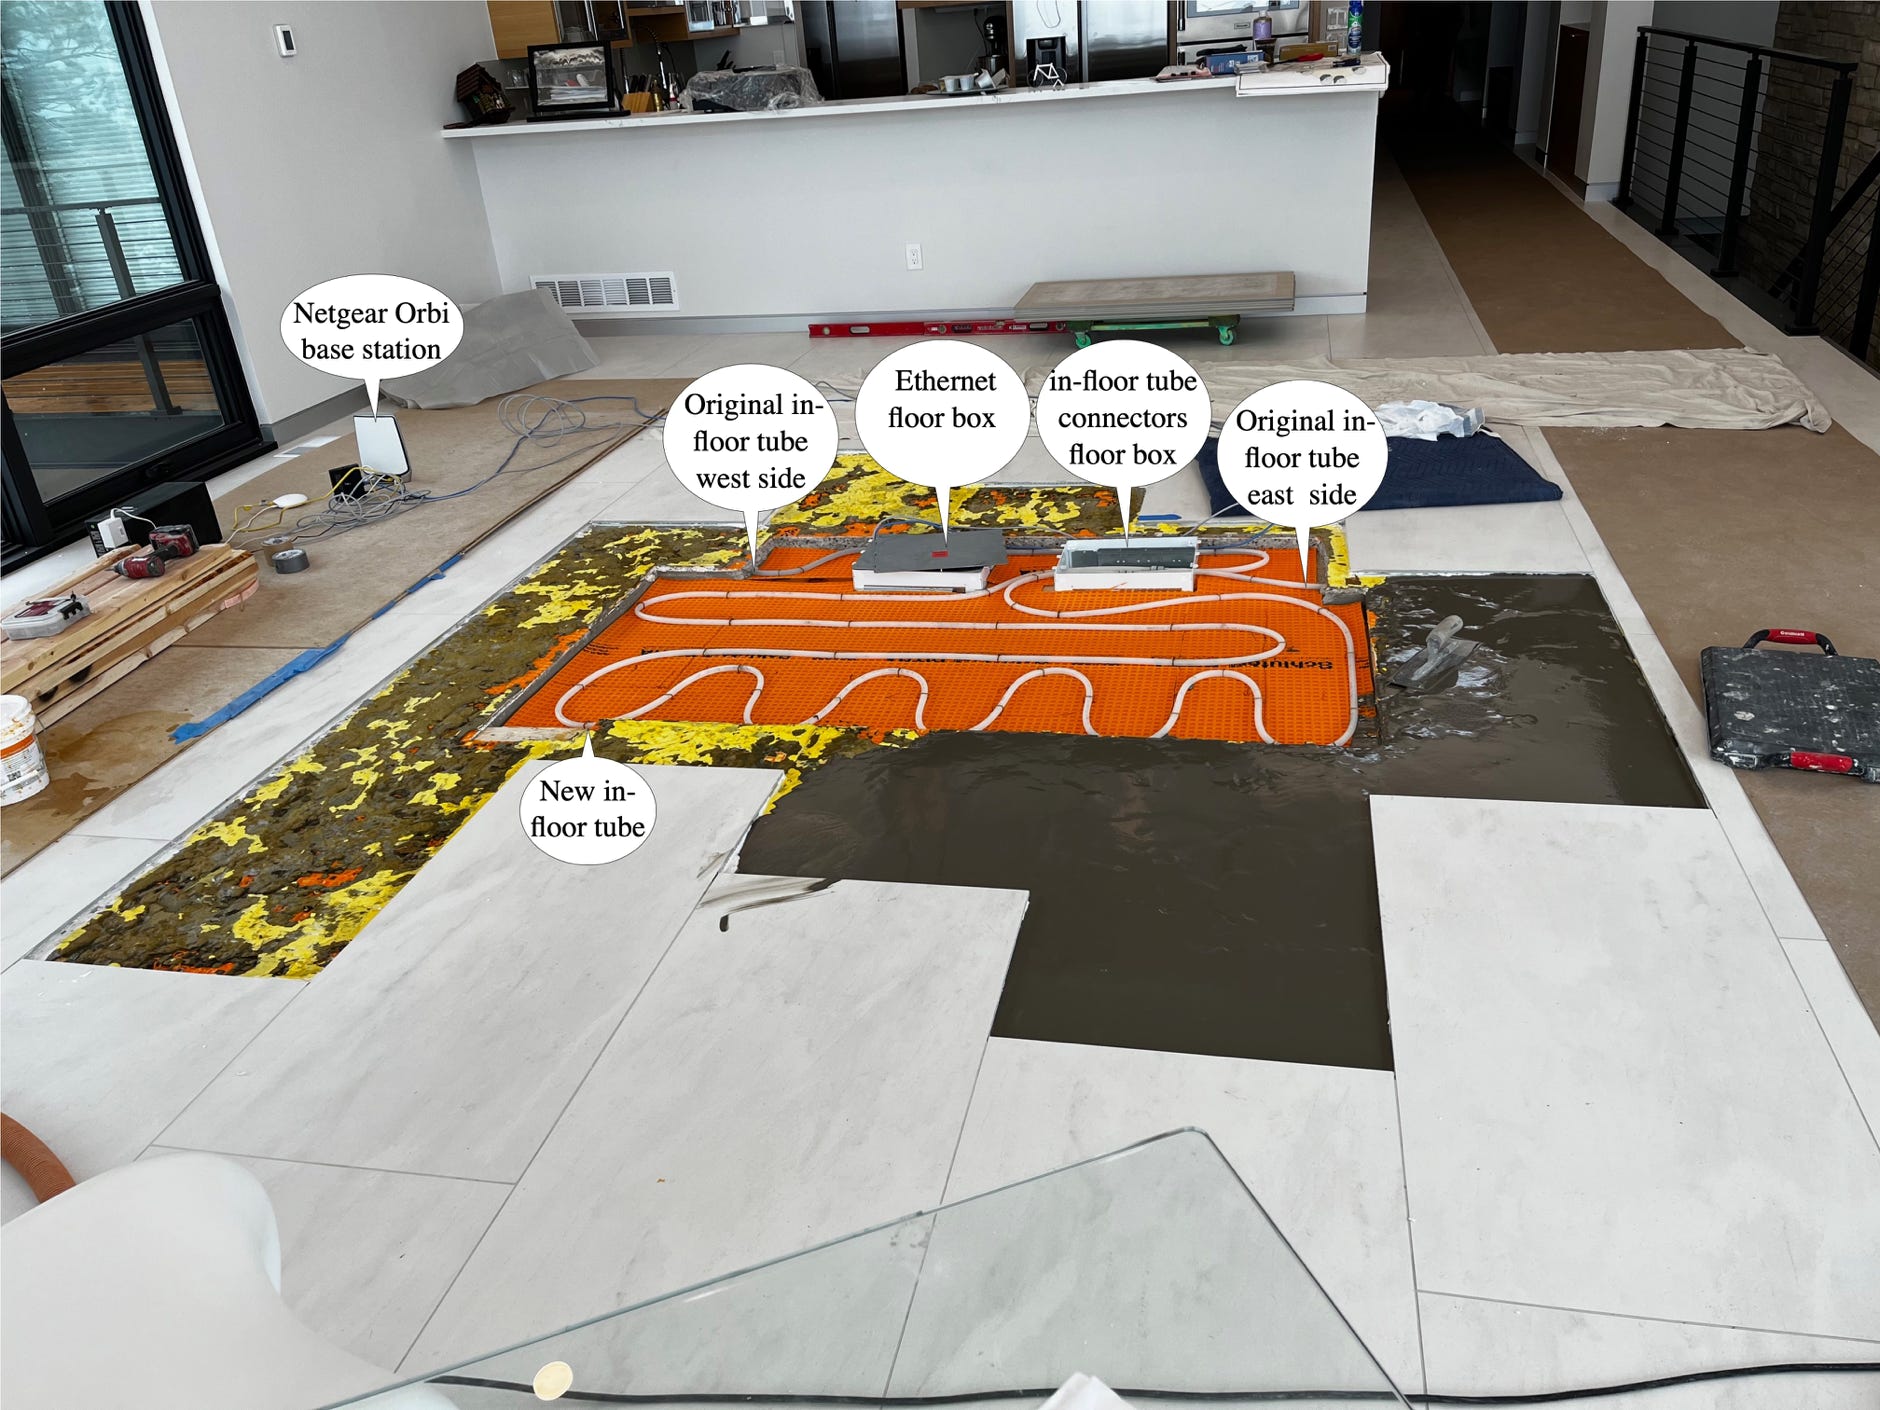
Note that the floor boxes are not in the middle of where the fireplace was. That’s because the floor joists under it were quadrupled micro-lams to take the load, January 3, 2020, Great Room Joists and there was no room for them! Also note that more tiles are removed than were under the fireplace. Several tiles got chipped during demo and had to be replaced.
It got rather complicated! The original in-floor heating tube was buried in concrete and had to be carefully chipped away. It was serpentine, so there was plenty of it to cut and route into the east floor box. You can’t bury connectors in concrete, so that floor box was needed to connect the old to the new heating tubes.
Then all the ethernet and power cables had to be moved one bay north, which meant that Dennis, our electrician, had to drill a lot of holes through a normal floor joist and route all that into the box.
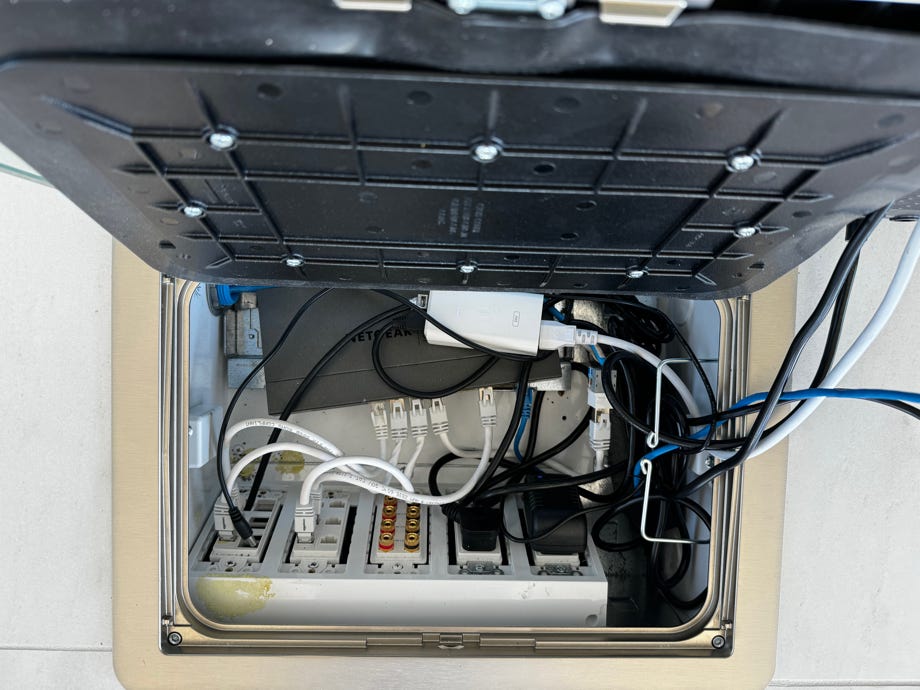
This is what the west floor box looks like today.
The west floor box has ethernet, power, and speaker connections. To make this work, we had to find that Netgear gig ethernet switch, which is so low power that both its top and bottom are solid, with no cooling holes. It sits on the bottom of the box and is cooled by being in contact with the metal of the box. There are also two 120 volt electrical circuits as well as a dozen ethernet cables. Almost every room in the house has ethernet run to it.
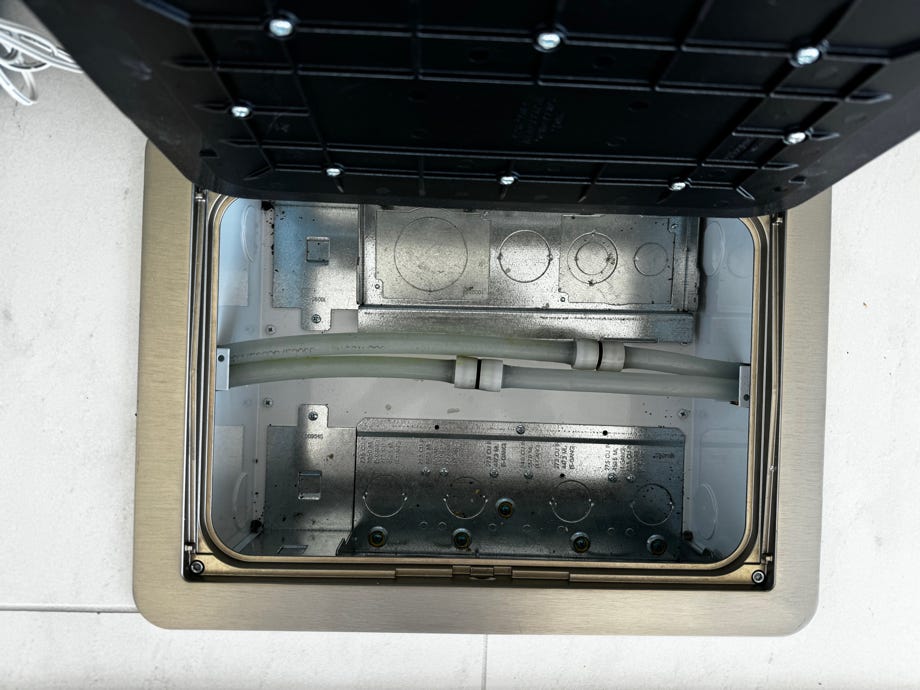
This is what the east floor box looks like. We pulled out all the electrical gear to leave the plumbers enough room to get their big crimping tools in.
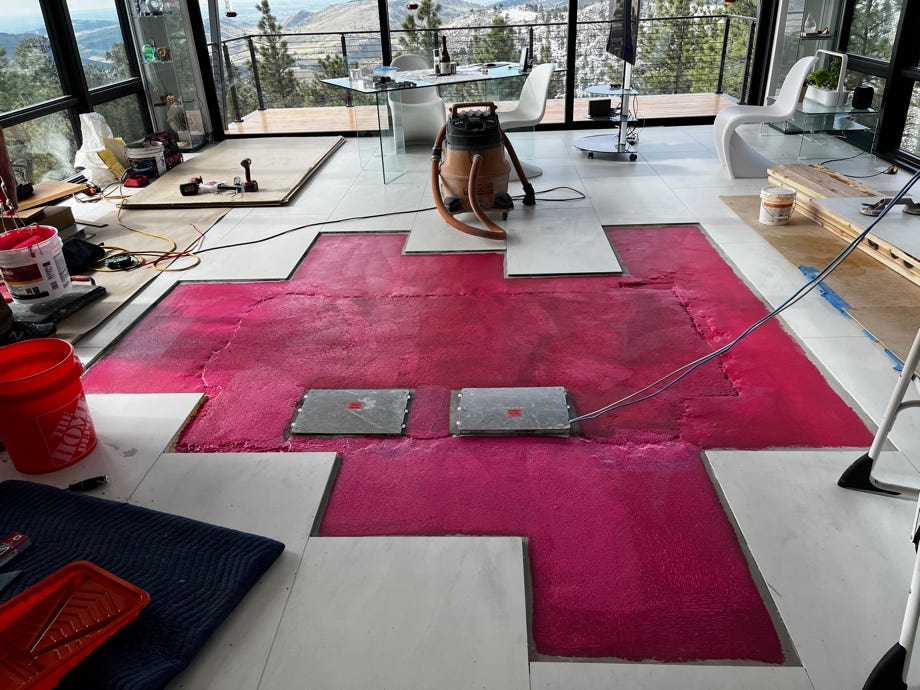
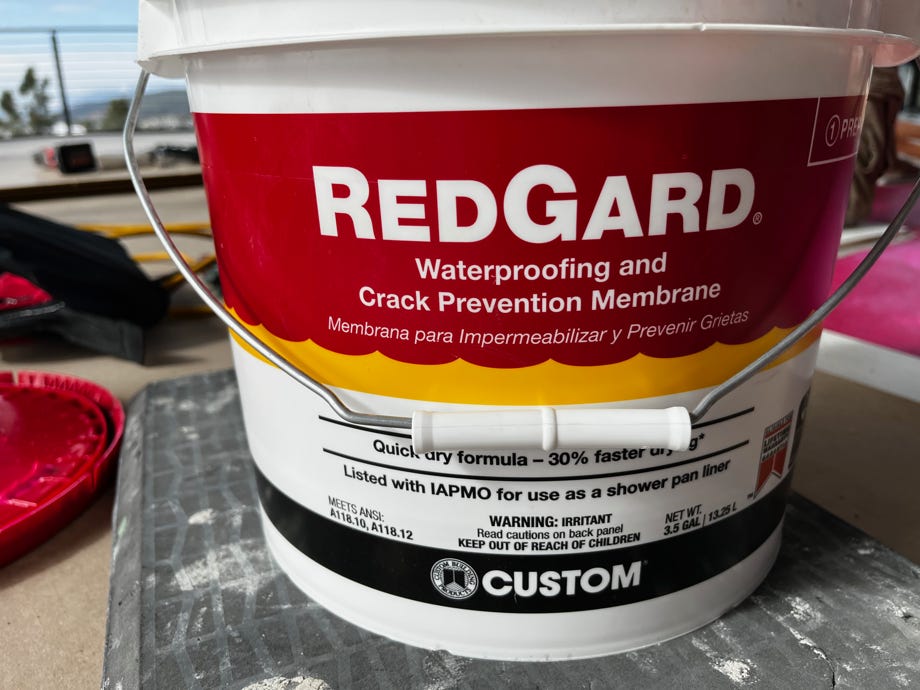
Finally we are ready for tile. The concrete has been topped with the RedGard crack prevention membrane.
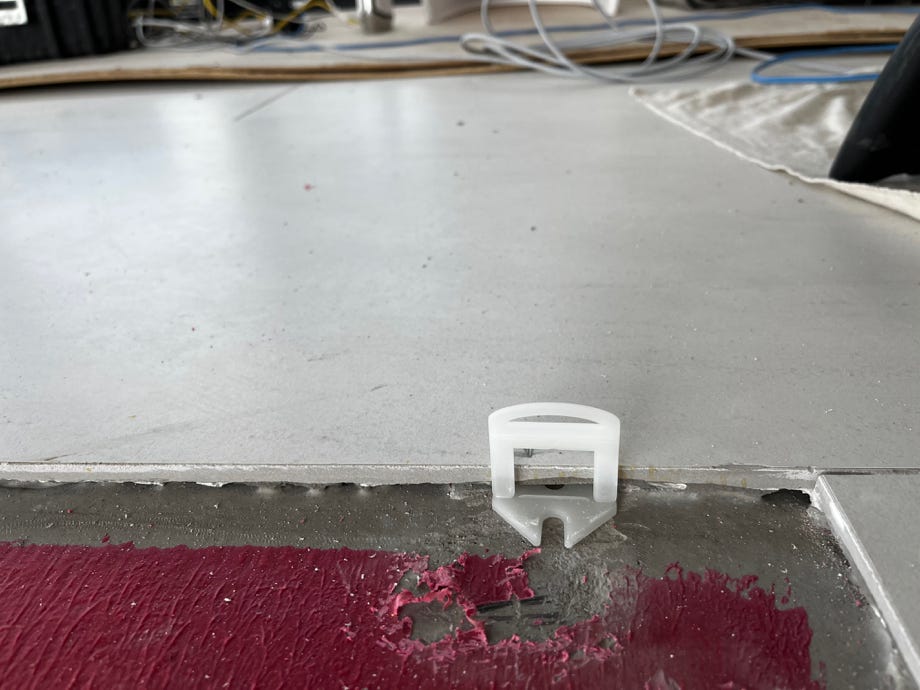
Here’s the secret to perfectly level tile with no “lippage”. These little plastic things have feet which go under both of the tiles to hold them exactly at the same height. Here’s a good explanation of how to properly lay tile: Tile Setting 101: Best Practices from an Expert.
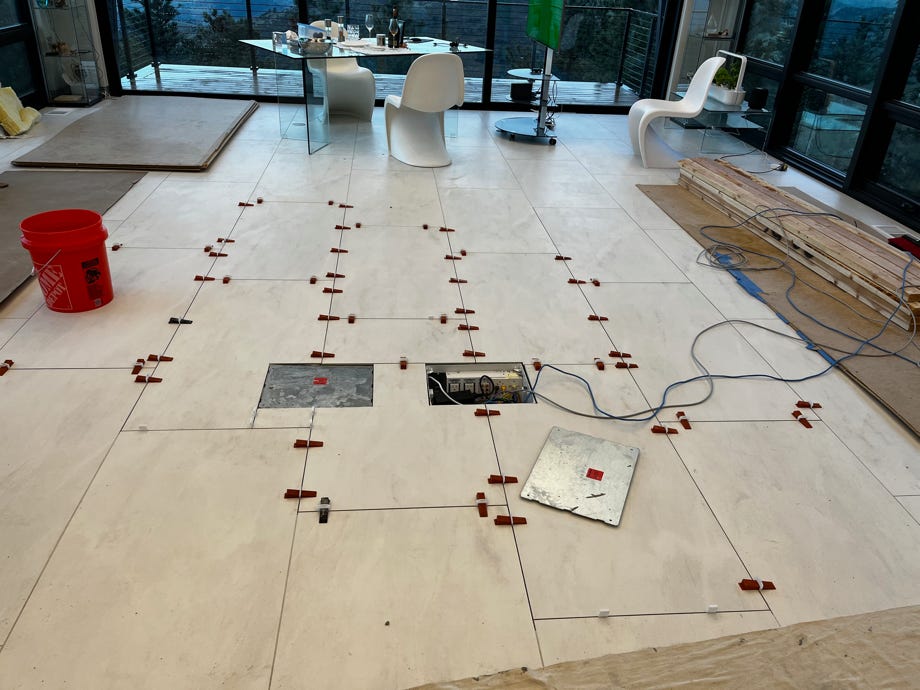
The tiles are all set and the lippage preventers have their wedges. The floor boxes have their (included in each kit) construction shields on them.
The lippage preventers’ top parts have a score right at the bottom of their “feet,” so they can be broken off cleanly at the very bottom of the grout between the tiles. The wedges also help to keep the tiles level with their neighbors.
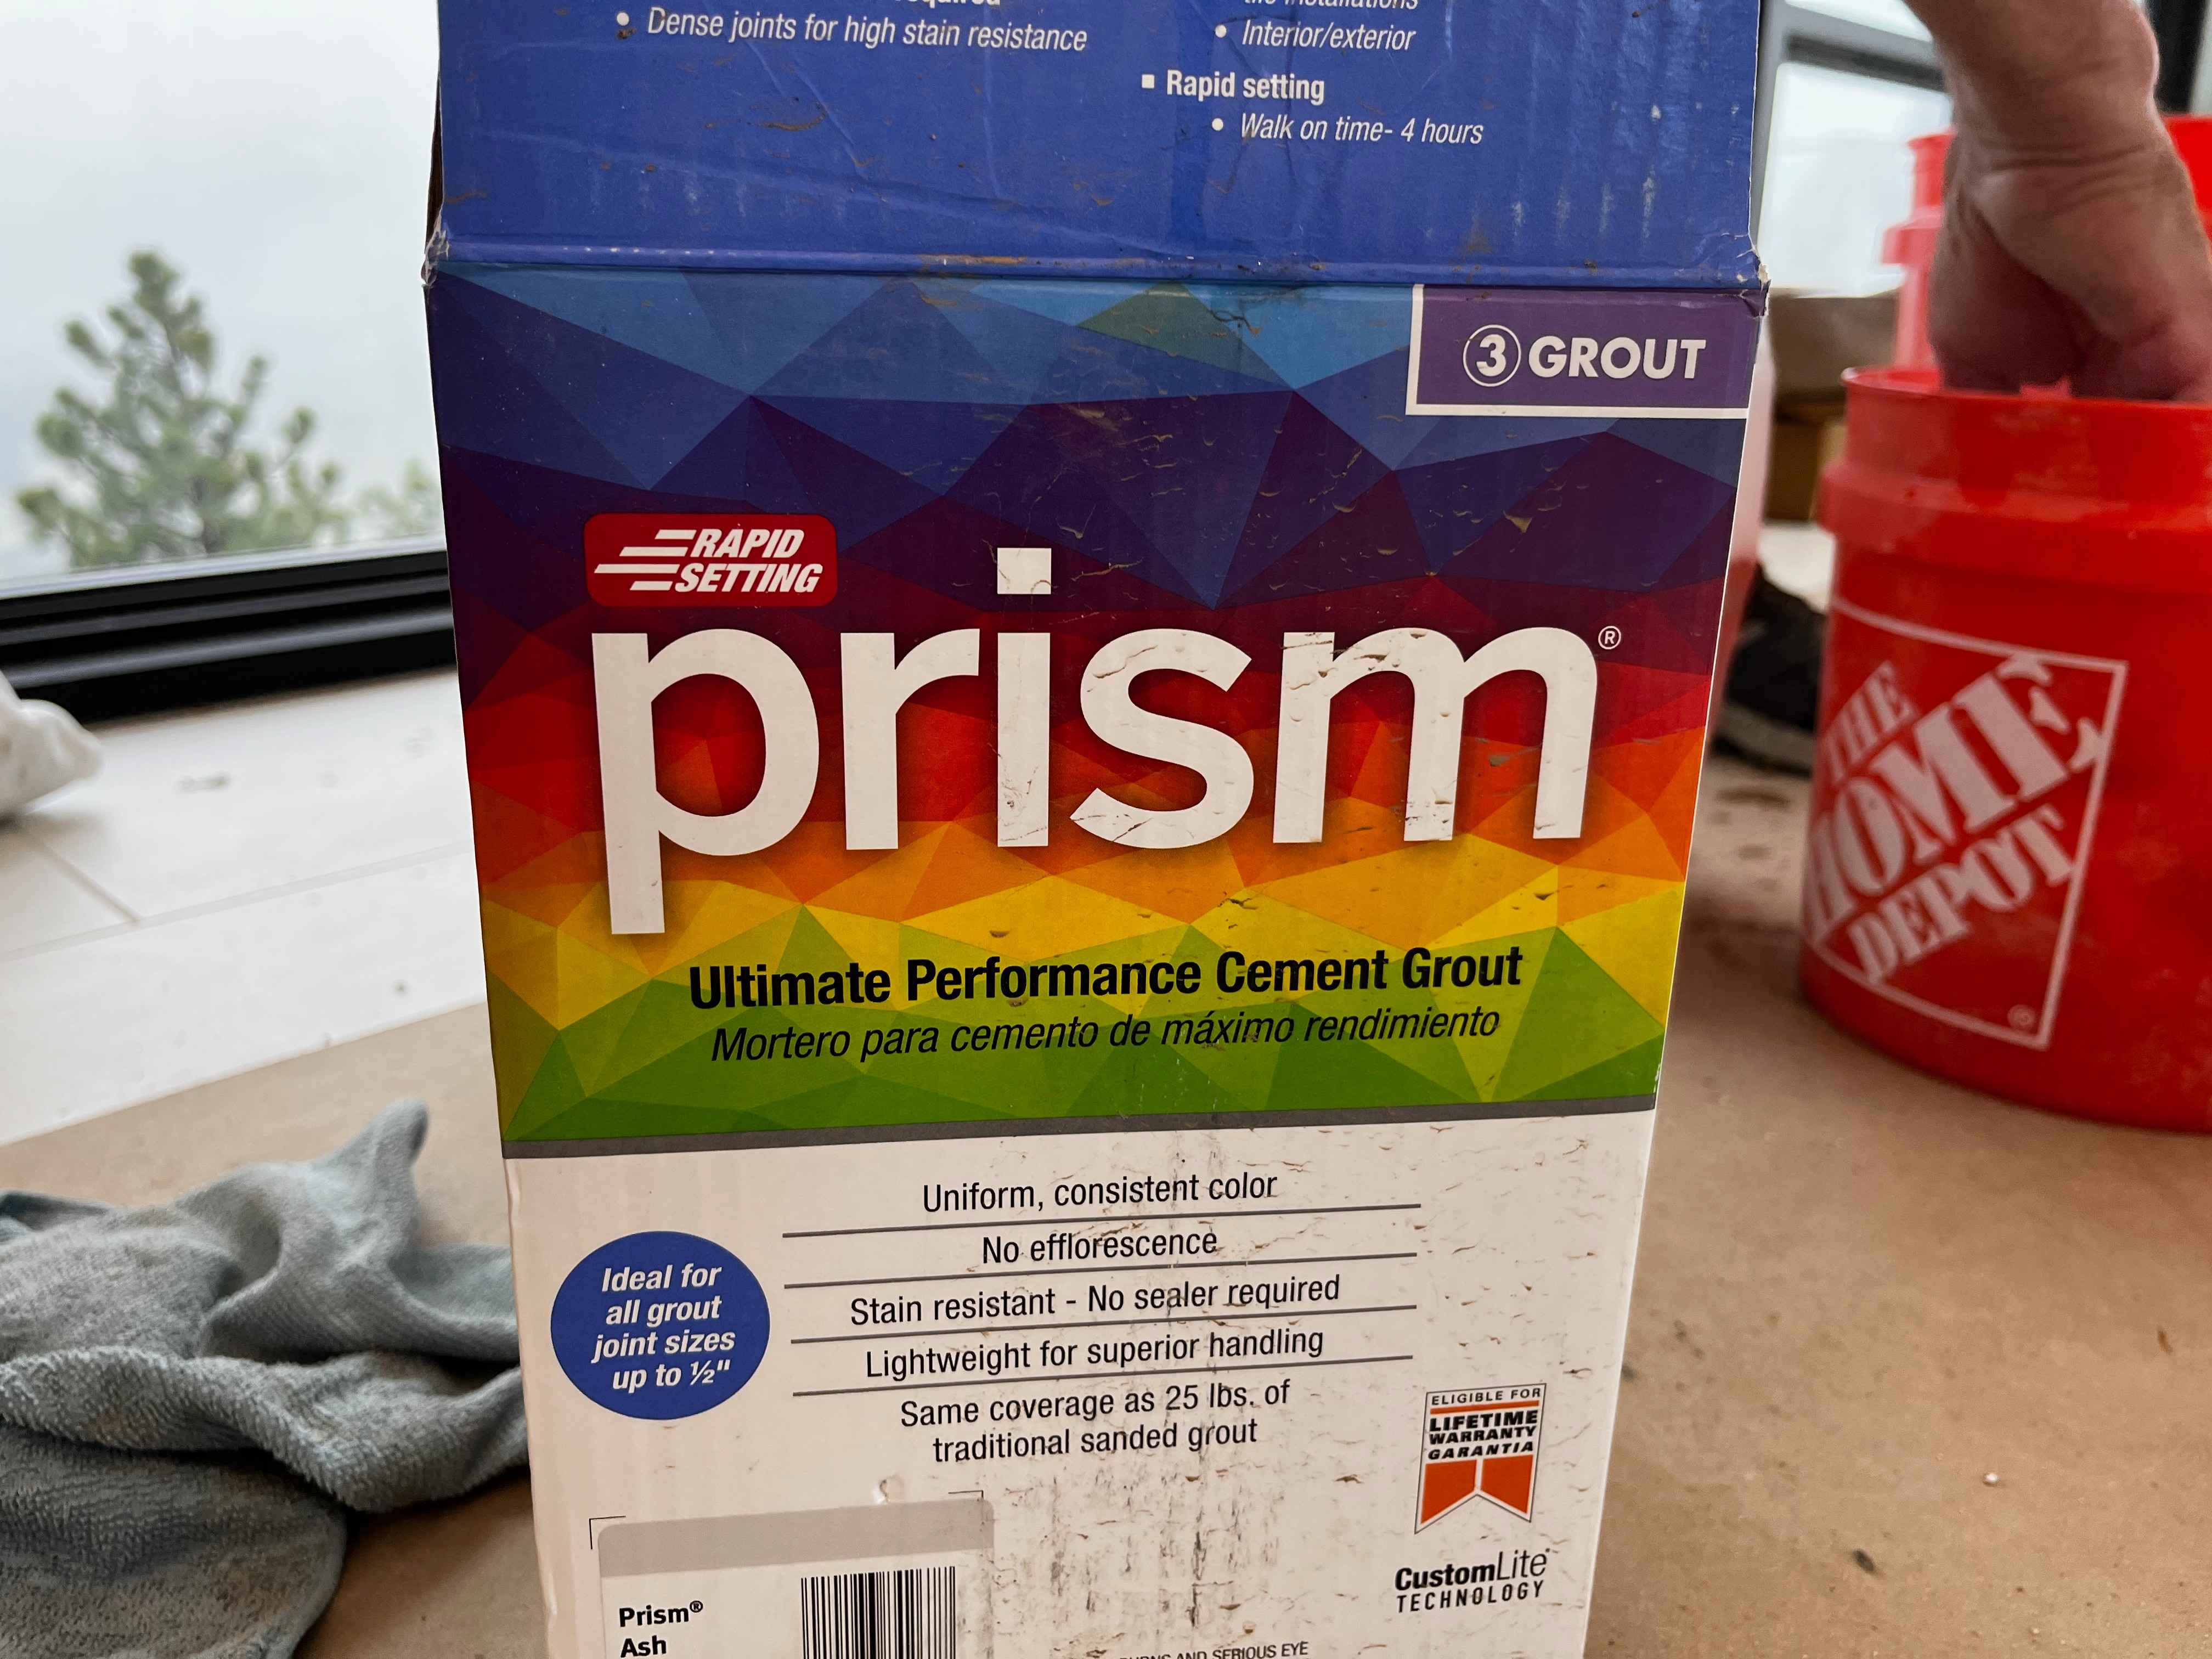
This is the best grout that the tile guy has ever been able to use on a project. It is too expensive for normal tile jobs, but our giant tiles cut the amount of grout needed down enough to allow him to bid this.
It’s hard to see, but at the bottom left the color is “Ash”.
Grouting the tile.
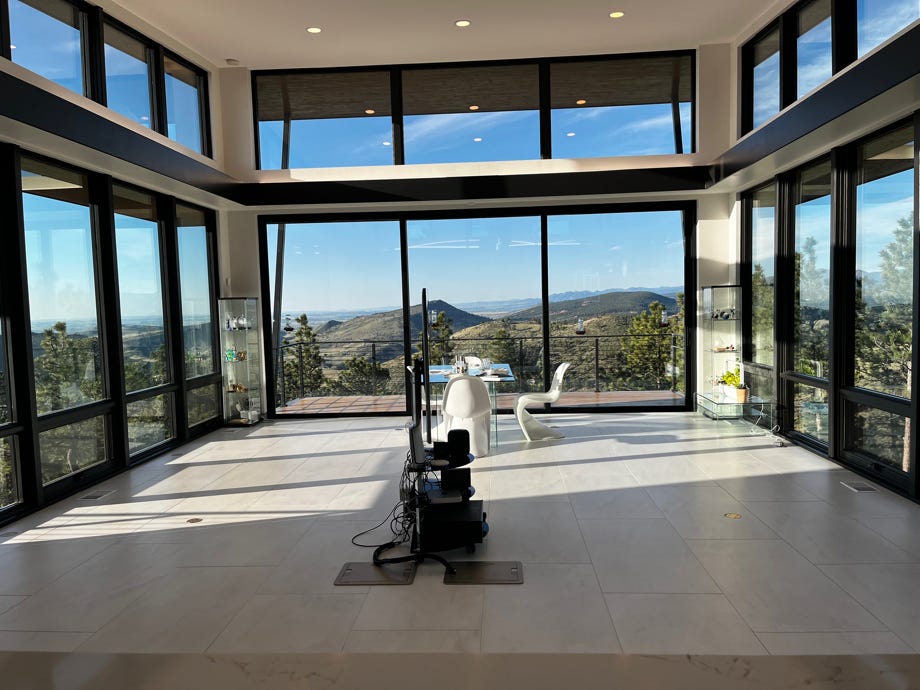
Here we are just south of the breakfast bar looking south. Wow! The great room has really been opened up! This is what the architect intended all along.
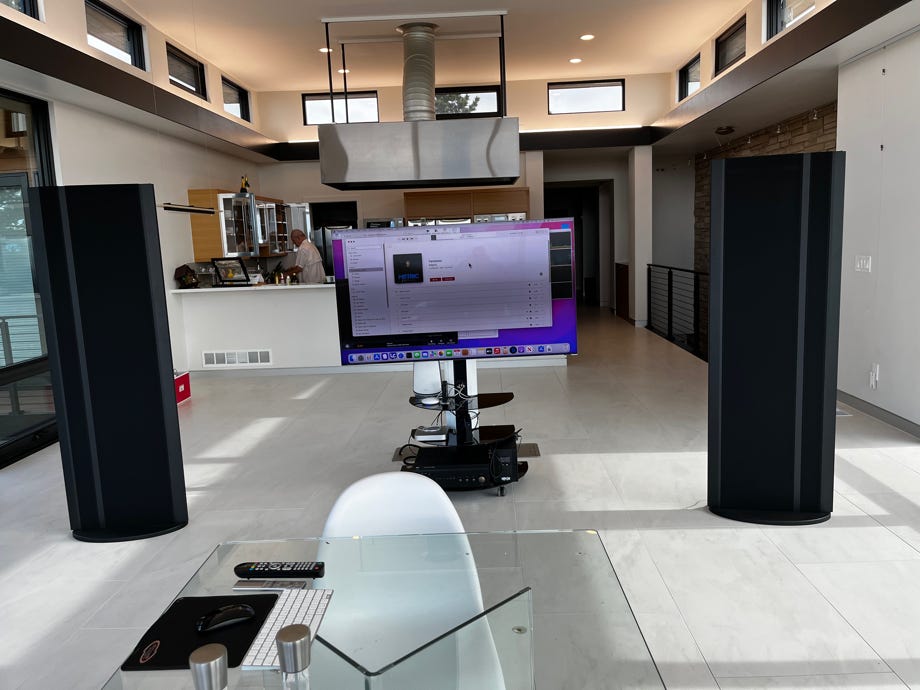
We got a floor stand for the panel. Those are the Magnapan 3.7i speakers on each side of the panel.